Gutting the House. Are we Really Doing This?


Gutting the House
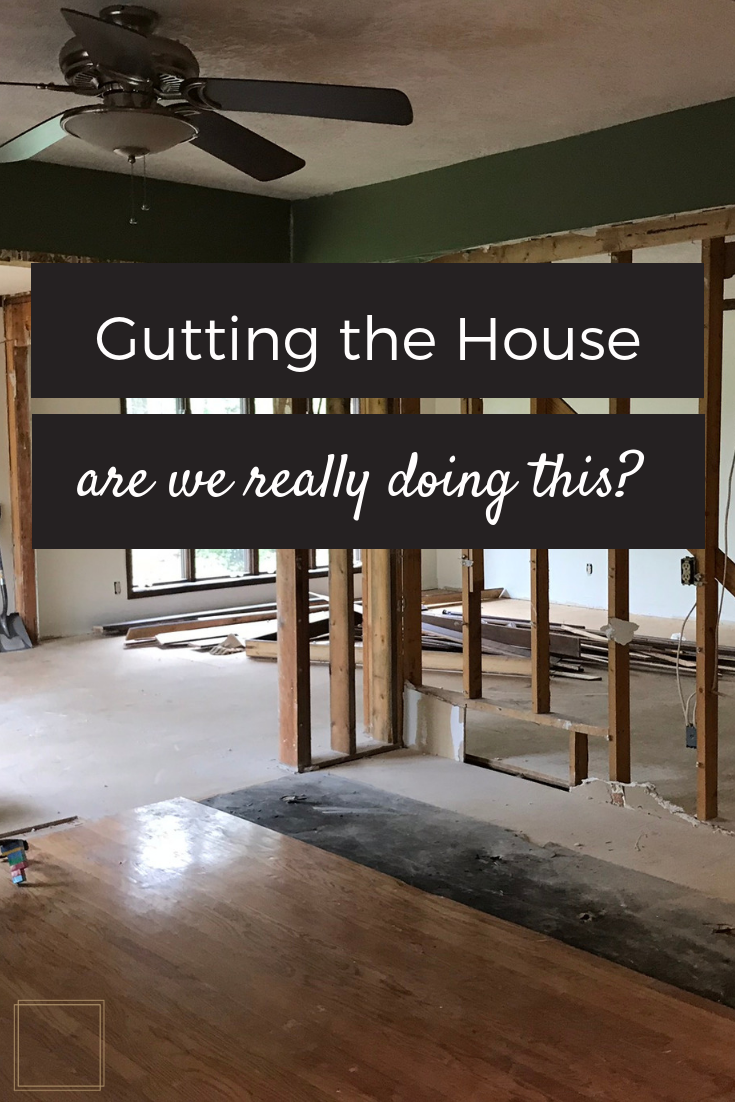
Gutting the House. Are we Really Doing This?
Prior to renovations, Jake told people that we were doing a "total gut" on the house. I scoffed and told him to quit being dramatic because a kitchen and bath renovation and taking out a couple of walls hardly classified as a gutting. However, as I walk through the house now, I see that Mr. Right is, in fact, right. The floors are out, the kitchen is almost completely gone, and two massive walls have completely vanished. Let me just admit that I had grand plans of blogging this every step of the way through, but throw renovations in with moving (and child raising), I'm in way too far over my head. So, instead, I'll give another recap of what you missed since the last episode.
ONE: Removing the Tile
After the husband and I removed the carpet (click here to see how), I spent most of the next few days removing the tile from the floors. I was pretty nervous about this and expected to have to call in the big equipment. NOT SO! It was easy peasy and soo fun! So fun I took a selfie while doing this because I felt like such a Bad Mamajama. Using the same tools as I had to remove the carpet, I was able to pry most of the tiles up in complete pieces. I would start on each tile by hammering the screwdriver in near the corner to create just enough space to shim in the prybar. When I got under the tile a few inches, I could add another pry bar under the tile and tap it in as far as it could go. Once one or two of the prybars were under the tile about halfway, I pressed down on the ends of the pry bars and the tile would break free. I totally recommend this method, however; my contractor totally burst my bubble when he told me that I'd had such luck because the mortar under the tile hadn't been applied very evenly. This allowed for air pockets under the tile in which the tile didn't even adhere to the mortar. Had the mortar been spread more evenly, the tiles would not have had such give in them. Well then.

Removing Tile Using the prybar.png

Removing Tile Using the prybar 2.png
TWO: Removing the Backer Board
Once this was done, the fun and games were over. It was time to remove the concrete backer board. About two minutes into this charade, I could tell this was going to be no easy feat. Sometimes backer boards are screwed down. On rare occasion, they are nailed down. This is one of those rare occasions. As I tried to chisel my way through the floor, my best results were removing the backer board in tiny little chunks. Boo! Because the backer board is nailed in place every 4 inches, there is just no way to take off big chunks. The area of the floor where you see the plywood (below) took me an entire day to remove! Oye!

Removing backer board.png
THREE: Paint!!!!
I was ever so thankful to put away my prybar and pick up a paint roller. I usually specialize in chalk painting furniture, but I also love to paint walls. This was not quite the cake walk I'd been hoping for, however. A few things to note, two of the bedrooms were previously painted bright blue. The hallways and formal living room were painted in a color that was only a couple shades darker than the paint color I planned to apply. Lastly, this house is incredibly dark. A lot of natural light, but not much in the way of artificial light. With the combination of poor lighting and only a minor change in paint color, it was very difficult to see where I was painting in the formal living area. While painting the formal room, each time I dipped my roller in the bucket for more paint, I had to tilt my head off to one side to see where the wall was still wet, otherwise, I had no idea where the paint had already been applied. In the kid's bright blue rooms, it actually took me three (yes, three!) coats of paint (and then some in some spots)! What a nightmare! I certainly see why the professionals say that you should change all paint colors to a neutral color when listing your house. This was intense! The pictures below are a little blurry. Apologies.

Kid room.jpg

Formal living room before
Hang on to Your Hard Hats!
Ok, all of that was really just small potatoes. Next comes the big stuff. Like tearing out the kitchen and the two walls separating the dining room and family area. Its a major difference and I can't wait to share it with you. I think it's so hard to see how something is going to turn out when a wall, or two, are obstructing your view. I couldn't believe the after. You're gonna love it!
Any experts out there that have advice on how I should have attacked these areas differently? Have any of my friends removed tile before? Painted a brightly painted wall?